Is it Delivery? No! It’s Grilled Pizza!!
Fun Fact: The average American eats 46 pizza slices a year (www.pizza.com)

One of America’s favorite foods: pizza, meets one of the favorite pastimes: grilling! What emerges from this interaction is a thin, crispy, smoky crust topped with fresh, flavorful toppings and smooth, melted cheese.  How could this not be amazingly perfect!?!

Recently, I have noticed fire grilled pizza businesses popping up at local fairs and festivals.  After just a few minutes wait, you have a tasty pizza.  Well, when you see how simple these are to prepare and how much fun it can be for a family or get-together with friends, you will make grilling pizza a frequent event.

I often use a store-bought bread machine mix for an easy and fail proof dough. However, this time, my dough flopped for some reason and I ended up heading to my pantry for the ingredients for dough.  I still used my bread machine so that while the dough mixes and rises I can be prepping the toppings for my pizzas.  You can use whatever your preferred pizza dough is; homemade, box mix or refrigerated dough.

Pizza Dough Recipe (for bread machine)

3/4 C Warm Water
1 T Milk
1 T Oil
1 T Sugar
1/2 t Salt
2 1/4 C Flour
1 pkg Active Dry Yeast
Optional: 1 t Italian Seasoning, pinch each Garlic & Onion Powder

Place ingredients in the bread machine in the order listed and set on dough setting.  Once done, put on a lightly floured surface and kneed a couples times.  Pull apart into individual pizza size pieces and roll into balls.  Cover and refrigerate until ready to use.  The dough will continue to rise in the refrigerator, and that is okay.  A cold rise slows the life cycle of yeast allowing the dough to develop more flavor.  Pull the dough out and allow it to rest a few minutes before use.  When you are ready to grill, oil your hands and press the dough onto an oiled baking sheet.  Press out or roll until the dough is about 1/4 inch thick or less.  Part of the fun in grilled pizza is the “rusticness” of the crust, so no need to worry if it isn’t a perfect circle. Brush on olive oil and the dough is ready for the grill.

Time to get your toppings ready.  You can use whatever your favorite pizza toppings are.  Just remember, they aren’t going to have much cooking time on the grill so anything that needs to be cooked fully, like sausage, should be prepared ahead of time.  Also, veggies such as mushrooms, onions and tomatoes should be sliced very thin.  I love a variety of onions (Vidalia, green and red), fresh roasted garlic (how to roast garlic), fresh basil and a combination of cheeses including fresh mozzarella and a blend of grated Parmesan and Romano.
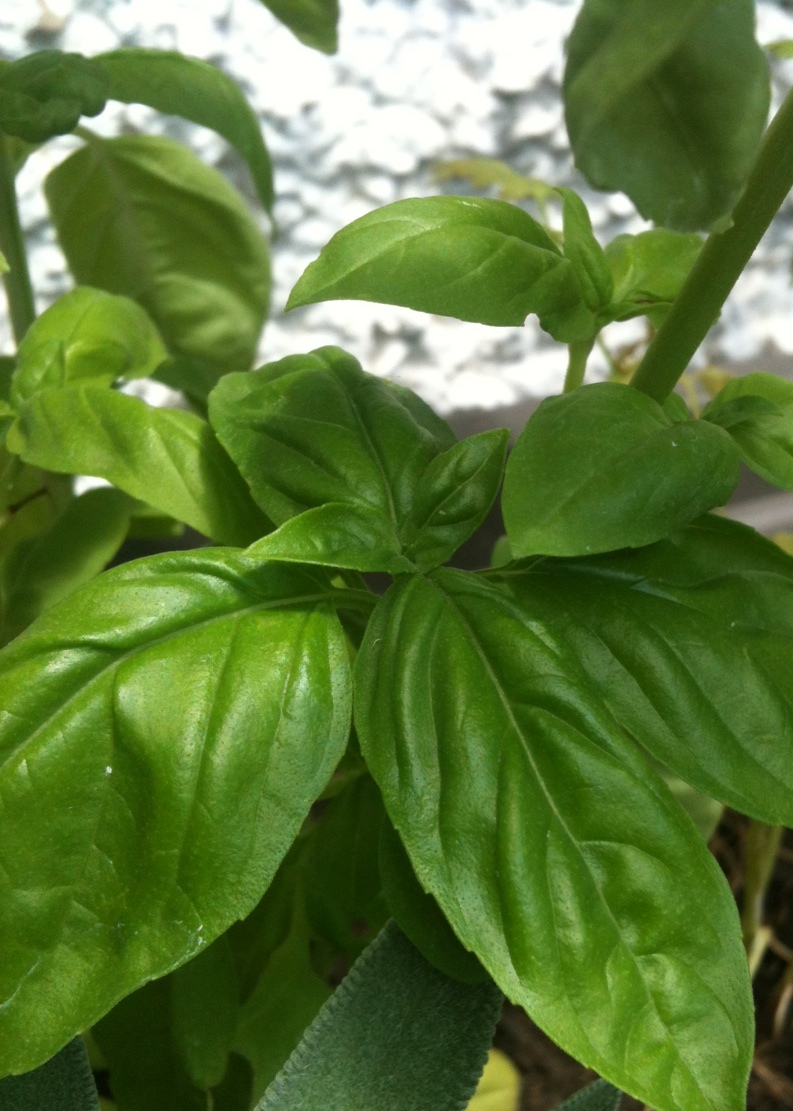
Basil

Sweet basil is a common herb used in Italian cooking.  There are actually 64 species of basil. In addition to the basic clove flavor, it comes in citrus and spicy flavors such as lemon basil and anise basil.  Basil is fairly easy to grow.  It prefers full sunlight, temperatures above 60 degrees and regular watering.  When you want to use it, just pinch off a leaf.  Fresh basil is much preferred over dried because the flavor can change when dried.  Basil leaves can bruise and turn dark when cut with a knife so for most recipes, just tear it with your fingers.  I use so much basil that I have to plant 2-3 plants in my herb garden to keep up.

Preheat the grill and set temperature at medium heat.  Be sure the grill rack is clean so you don’t end up with remnants of your last grilled meal in your pizza crust…yuck!  Brush oil on the rack. Unless you are very familiar with your grill’s temperature settings and the location of any “hot spots,” start with one [test] crust…just in case! My dough took about 3-4 minutes each side.

Now, comes the part where you have to act fast.  Once you have flipped the crust over, quickly put on the desired toppings and get the lid closed so they can warm and the cheese can melt.  If you are going to let others put their toppings on, you will need to remove the crust to the baking sheet while they top it and then put it back on the grill.

Cook an additional 3-4 minutes or until the bottom is grilled to your preference and the cheese is melted.  I love the flavor of the slightly burnt edges of the crust and the way the fresh mozzarella cheese melts.  When you bite into the pizza, you get a little of all of the textures: crunch of the crust, tender crisp vegetables and warm, soft cheeses.

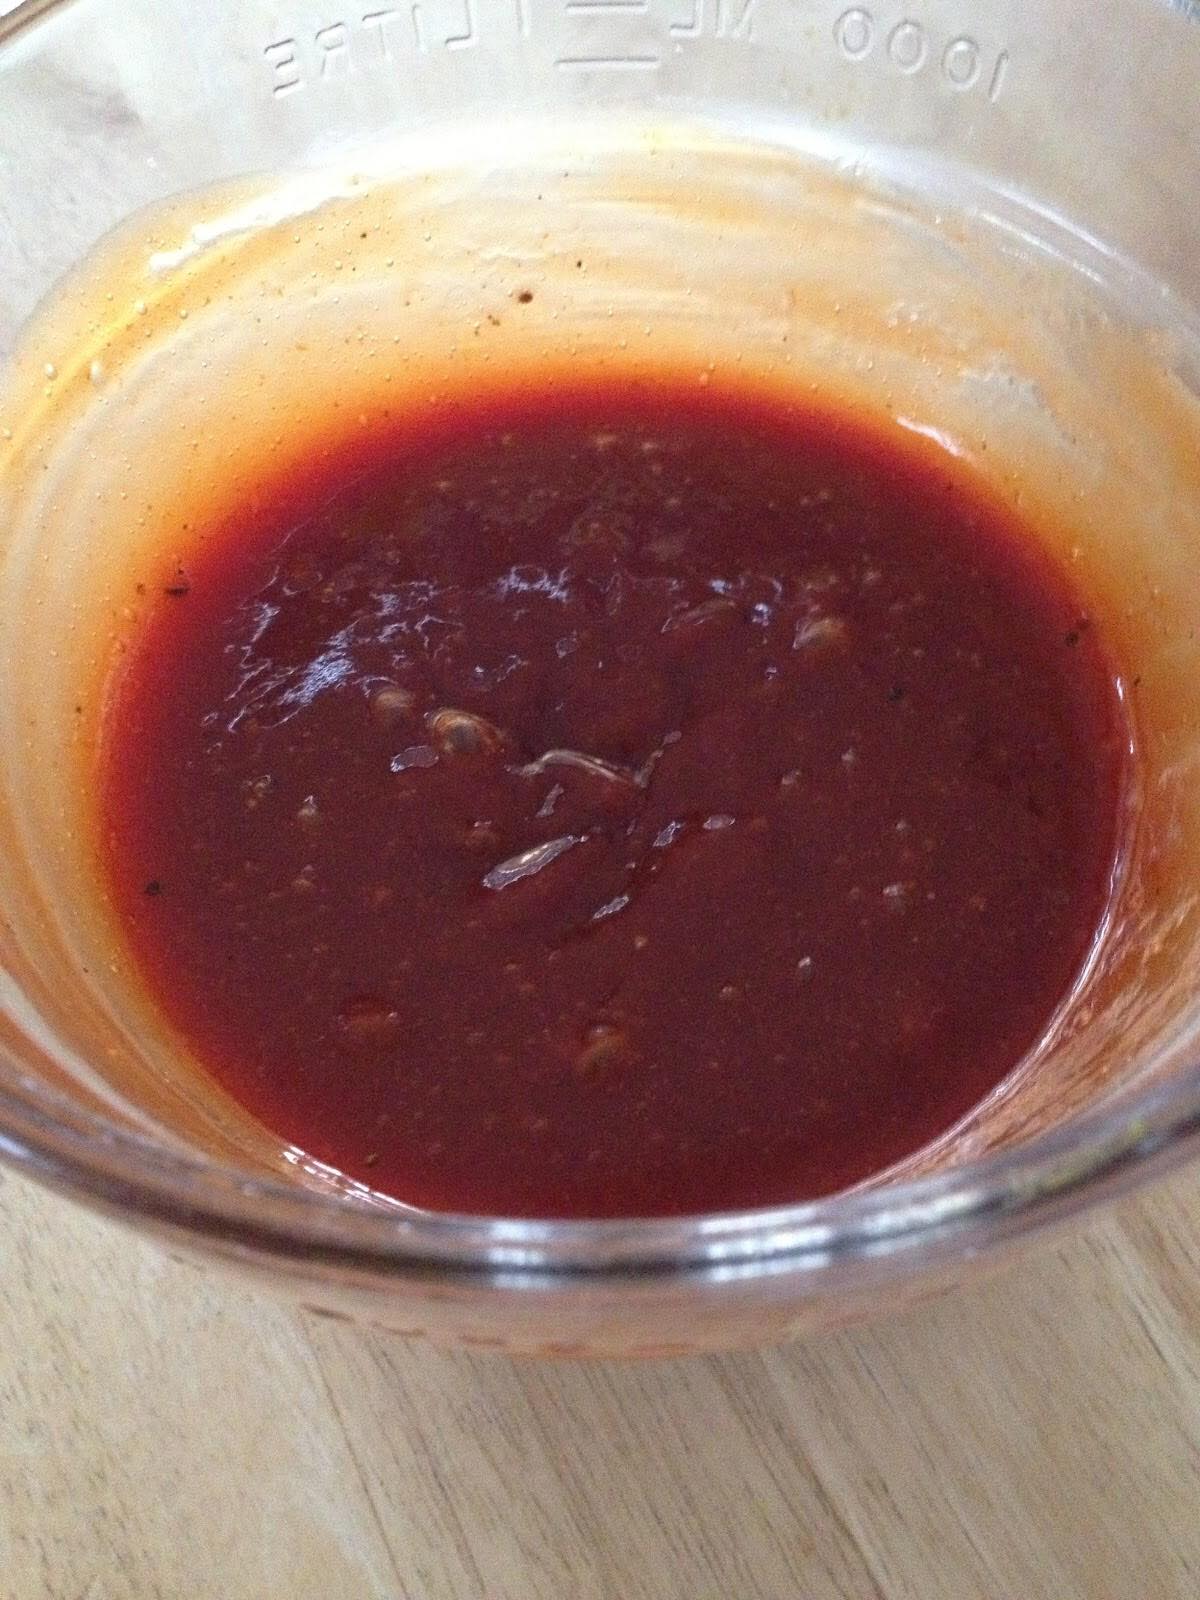
The variety of pizzas you can make are endless! If someone isn’t a marinara sauce fan, have some garlic butter or an Alfredo sauce available.  Garlic butter with mushrooms, spinach and grilled chicken is a great combination.  The Caps and Bleu Cheese Flatbread  I make would also be excellent on the grill.  I could go on and on, but I am making myself hungry! So, go ahead and try grilled pizza…I bet you won’t be ordering delivery this summer!

BBQ 101: Marinade, Rub and Sauce

For those of you who live in regions that have grill season year-round, you are culinarily blessed! Grill season is upon us here in the mid-west.  Breaking out the grill for the first meal of spring is practically a holiday.

First things first, to address the age old BBQ debate: dry rub v/s sauce!??! Well, for me, the answer is BOTH.  And, actually there is a step prior to that: marinating.  Yes, high quality meat should have a wonderful flavor in itself.  However, this blog is about enhancing flavors with herbs and spices.

As I shared in my whiskey marinade post (Whiskey Marinade), a marinade is made by combining an oil, an acid and spices.  Historically, people used marinades to both tenderize and flavor meat.  More recently, however, it has been discovered that marinades don’t really have an effect on how tender the meat is.  The cut and quality of the meat and how it is cooked determines how tender it will be.  In fact, if certain meats are left in a marinade too long the tissue will break down and the meat will be grainy.  Even after soaking several hours, marinades only soak into the outer layers of the meat, not clear through, so it is important that you use a high quality piece of meat to really get the best flavor.  For a piece of meat such as the bone-in and skin-on chicken thighs I grilled today, I pierce the skin in several places to help ensure the marinade is absorbed.

You can use any combination of your favorite oil, acid and spices to make your marinade.  I prefer a high quality olive oil, and am able to purchase them at a local gourmet olive oil and vinegar shop (www.theolivetwist.com ).  The acid can be a vinegar, wine, liquor or even some juices.  Some of my favorites are balsamic vinegar, a Chardonnay or Cabernet Sauvignon, whiskey, tequila or lemon/lime juice.  Which I use, depends on the type of meat and the flavor I’m trying to achieve.  For example, for jerk chicken, I would use olive oil, lime juice, rum or tequila and Caribbean style spices such as all spice, cinnamon, cloves, garlic, nutmeg, habanaro chilies, and thyme.  More often than not, my marinades are a combination of what I have on hand.

Next comes the rub.  Before putting the meat on the grill, I rub it with a spice mixture. There are a variety of pre-mixed rubs available in many flavors, and if you have a couple that are favorites you could stock those in your spice cabinet.  Ground spices, when stored properly, can retain flavor about a year. Certainly, fresh spices have a more potent flavor.  When you purchase spices from a grocery store, you have no way of knowing how long it has been sitting.  Purchase spices in smaller amounts, about what you think you can use in three months or so.  When possible, purchase whole spices and grind them yourself.  Store spices in airtight containers in a cool, dry place.  Never store above a heat source or in the light because the color will fade and the quality will decline.  You can easily concoct your own rub blend if you know which spices go well together and with what types of meat or vegetables.  Here is a basic quick reference (this is only a partial list):

Chicken Spices:

Parsley
Sage
Rosemary
Thyme
Garlic
Onion
Saffron
Tarragon
Bay
Cinnamon
Nutmeg
Curry
Lemon & Lime

Beef Spices:

Salt
Peppercorns
Garlic
Oregano
Tarragon
Rosemary
Cloves
Cumin
Horseradish root
Ginger root
Red Pepper

Seafood Spices:

Lemon
Dill
Parsley
Celery Salt
Mustard seed
Red Pepper
Bay Leaves
Cloves
Allspice
Ginger
Cinnamon
Paprika

Pork Spices:

Salt
Garlic
Onion
Thyme
Caraway seeds
Coriander
Curry
Dill
Rosemary
Sage
Cloves
Paprika
Maple
Brown Sugar

Mint

Vegetable Spices:

Mint
Dill
Lemon
Garlic
Cinnamon
Clove
Ginger
Chives
Basil
Thyme
Salt
Peppercorn

Finally, once the meat has grilled to near perfection, it’s time to add the sauce! Here is a quick and easy BBQ sauce recipe adapted from my mom’s recipe that has been a favorite of our family and friends for years.  Now, here’s a problem…I have never measured the ingredients in this recipe, ever! It has always been an add and taste kind of thing, and when we make it, we make a lot! So, I am going to give you a recipe for about 4 cups of sauce and you can adapt to your taste and the amount you need.

BBQ Sauce

2 C Ketchup
1 1/2 T Yellow Mustard
2 C Brown Sugar (I prefer dark, for a richer molasses flavor), lightly packed
1 1/2 T Worscheshire Sauce
2 t Liquid Smoke (optional)

1 t each spice: peppercorn, garlic salt, onion powderWhisk together.  Store in a container in the refrigerator until needed.

After marinading for a couple of hours, place the meat on a baking sheet and rub with spice mixture.  Grill until  just under desired doneness.  Brush sauce on meat and grill a couple more minutes until done. Toss your choice of vegetable in the same spices you put in your rub and grill in a grill pan.  Using the same spices ties all the flavors of the meal together.

Experiment with new mixtures each time you grill.  Grill season is just beginning and the combinations are endless!


Breakfast in Bed: Blueberry Bacon Waffles

One of the primary reasons I started this blog is because I was so often hearing people say how they cook, but they prepared the same foods all of the time and they were bored with their meals.  Adding herbs, spices and other flavorings to the most simple recipes can totally change the meal.  Be slightly creative with how you present the food, and your partner, family and friends will see you are an amazing cook!

Making something from scratch, or homemade, is healthier, less expensive and can actually be more simple to prepare than you think.  A perfect example is pancakes, waffles, cake mixes and breads or biscuits.  Instead of spending money on store bought baking mixes, all you need are a few basic pantry items such as flour, baking soda, salt and sugar.

I added vanilla, almond extract and cinnamon to a basic waffle recipe.  The flavor takes on almost a desert-like quality.  Sweetness also comes from the blueberries. The bacon (I use applewood smoked) gives just a touch of salt, so the waffles become the perfect combination of salty-sweet.  Honestly, though I served the waffles with syrup and whipped cream, they are tasty with nothing on them at all.

For this recipe, you do need to have a waffle iron.  Though a fancy Belgian waffle iron makes wonderfully thick, fluffy waffles, any waffle iron will do.  One quick trick for knowing when your waffle is done: when the steam stops, it’s ready.

Blueberry Bacon Waffles

2 C Flour
4 t Baking Soda
1 T Sugar
1/2 t Salt
2 Med-Lg Eggs
1 3/4 C Milk
1/2 C Vegetable Oil
1/8 – 1/4 t Cinnamon, ground (optional, if you use fresh ground, use the lesser amount)
1 t Almond Extract
2 t Vanilla
1 1/2 C Blueberries (rinsed and drained) Other fruits can be substituted…strawberries are great!
12-14 Slices of Bacon
(Makes 6-7 waffles in my waffle iron)
Beat eggs by hand in a large mixing bowl.  Add remaining ingredients up to the vanilla and blend by hand until the lumps disappear.  Set aside and do not disturb until you are ready to use the batter.  Stirring again will remove the air and lead to less fluffy waffles.
Cook bacon slices to tender-crisp.  Drain grease on paper towel.  Rinse and drain blueberries.  Let dry in colander.
Prepare your waffle iron.  Preheat.  Even if the iron is non-stick, oil or spray with cooking spray before the first waffle to keep the waffles from sticking.
Place about 3/4 cup of the batter (or follow waffle iron instructions for amount) on the iron. Add a handful of blueberries and two slices of bacon, then close iron.

Serve with butter, maple syrup and/or whipped cream (I do ALL three!!)  Leftovers, if you have any, can be placed in a freezer bag and warmed in the microwave for about 1 – 1 1/2 minutes.

Update: I recently used strawberries in place of the blueberries and the waffles were just as yummy!!